It’s crazy how fast it’s becoming easier than ever to stream.
Gone are the days when it was difficult to figure out how to stream on Twitch from Mac. Mac compatible streaming software and setups were limited till even 2013. No wonder, many streamers who have been streaming for years have a Windows PC.
Fast forward to today, streaming from a Mac is just as easy as it is on Windows.
Looking for ways to get started on how to stream on Twitch from Mac? Here goes.
How to stream on Twitch from Mac?
There are 3 things you would need to stream on Twitch from Mac. The first thing you’ll need to stream from Mac is broadcasting software, like Twitch Studio, OBS, etc. Next, you’ll need a basic streaming setup with a microphone, and possibly a webcam, and good lighting. And last, but the most important, your own Twitch account.
1. Install a streaming software for Mac
There are many options of broadcasting software available for Mac. You can choose one that best suits your need.
You’ll need to follow a basic setup that can be configured on your Mac. And then, connect your Twitch account to whatever broadcasting software you’re using.
Here are 3 top options of streaming software for Mac:
Twitch Studio for Mac – Beginner friendly
Twitch Studio is a one-stop solution for all your streaming needs. With a guided streaming setup, it takes the guesswork out of the equation, and lets you get on to what matters the most. That is streaming!
The Twitch Studio Mac app would require a Mac capable of running MacOS 10.14: Mojave. It’s also recommended to have a newer Mac for streaming, especially if you are planning to stream games simultaneously.
| Pros: | Cons: |
| 1. Has simple and basic features which can help you get started quickly 2. Stream setup is a straightforward guided and intuitive experience | Less flexibility regarding upgrades and tools |
How to download and use Twitch Studio on Mac:
Download Twitch Studio for Mac to get started. For any other FAQs, you can refer to this Twitch Studio FAQ webpage.
Streamlabs Desktop – All in one broadcasting tool

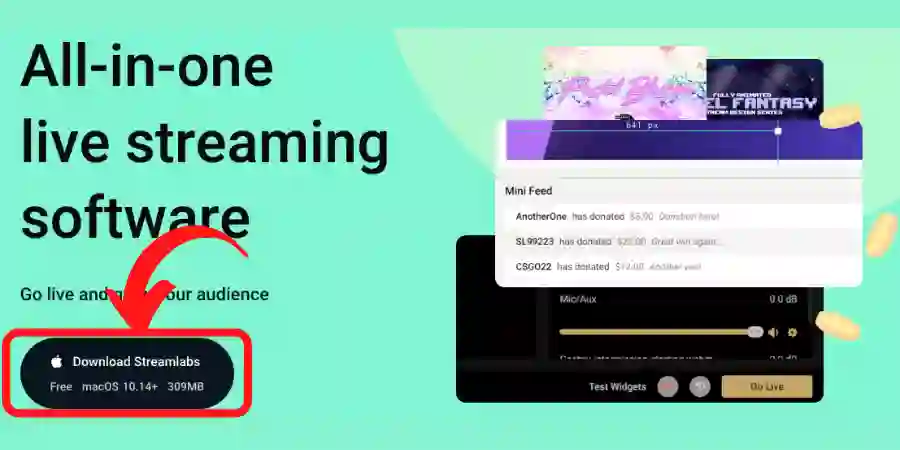
Streamlabs Desktop (earlier called Streamlabs OBS) is another pretty straightforward software that has many features and offers great flexibility to enable them while streaming on Twitch.
| Pros: | Cons: |
| 1. Great ease of use and you can quickly deploy tools like chat, alerts, and donation button 2. Free overlays to start with 3. You can use different themes and overlays to make your stream look perfect and professional according to your needs 4. It largely offers the same features as its Windows version | 1. The future of this platform remains to be seen, given the bad business practices complaints raised by other platforms. 2. Many popular streamers have already given up on Streamlabs, and have moved to other alternatives. 3. For a beginner streamer, it may not be as easy to set up as their website claims |
How to use Streamlabs OBS on Mac:
You can download Streamlabs for Mac from their website. This Streamlabs setup guide will help you get started.
OBS Studio for Mac – Free and advanced
OBS Studio is the OG of all streaming software. If you’re just starting out and want to customize and do a cool setup, with 0 costs, OBS Studio is your best choice. It has most to offer in terms of flexibility and plugin support.
| Pros: | Cons: |
| 1. 100% FREE 2. Totally flexible and customizable 3. Has a low impact on frame rates for budget systems | The learning curve is steeper than other available options |
How to download and use OBS on Mac:
Download OBS from here. Then head to the official twitch website for your stream key in your profile. Place this in the stream tab of the settings. You should now be set to go live in OBS Studio.
Related: OBS vs Twitch Studio Feature comparison
2. Invest in a good stream setup
A good streaming setup is a game-changer. With the number of streamers growing by the day, the quality of your stream matters. This quality depends a lot on your equipment. It helps you grow your audience and get viewers organically.
Invest in quality gear and make your stream visually appealing. The 3 main items in your gear would include a microphone, webcam, and good lighting.
- Microphone: The most important piece of equipment is the Microphone which you’ll be using while streaming. You need to have a good microphone otherwise invest in a decent headphone with a good microphone. It is needed to communicate with your viewers and it also provides a good experience for the viewers. Related: Best Microphones to buy for Streaming
???? Did you know? Good audio is more important than a good video to keep people hooked to your stream.
- Webcam: The next thing you need to add to your setup is a Webcam. The majority of popular streamers use a good webcam as it lends higher credibility to the stream. The audience relates with you even better. You might have seen Twitch streamers doing things other than gaming and still have a very large amount of active viewers because they provide visual aid which is far more engaging than just audio.
One of the best webcams includes Logitech C920, which does a great job in almost every scenario. You don’t have to buy a high-end webcam, this one will do the trick for you.
- Good lighting: The last thing you need to complete your setup is good lighting. A couple of studio lights at a decent angle should do the trick. Lighting does not only improve the quality of your stream but also avoids making your video feed look grainy and undefined. Plus it can make your setup look far better!
3. Get on Twitch and start streaming
With all the background steps done, it’s time to get on Twitch and start streaming. Head over to Twitch, and hit that stream button.
Good luck!
Top 5 FAQs to stream on Twitch from Mac
Below are common questions related to streaming on Twitch from Mac.
How to stream Xbox One on Twitch through Mac?
- Download and install OneCast from its official website
- After installing, open one cast and follow through the instructions you will be able to get your Xbox One screen on your Mac
- After that use your preferred streaming software to broadcast your Xbox One screen on Twitch
How to stream on Twitch with PS4 and Mac?
- Download and install PlayStation Remote Play on your Mac
- Open PS Remote play and make sure your Mac and PlayStation are on the same network
- After that, it will connect to your PlayStation automatically
- Connect your Dual shock controller to your Mac and not to your PS4
- After that open your streaming software and add source as Display Capture and add the specific screen
- Now you are ready to stream your PS4 on Twitch from Mac
How to use GoPro as a webcam to stream on Mac?
- Get the latest GoPro camera firmware
- Launch and install the GoPro webcam app
- Turn on your GoPro and connect it to your Mac. Wait for the blue dot to appear, indicating successful connection
- Now open your broadcasting software and choose Go Pro in the camera settings
- You are now ready to use your GoPro as a webcam for your stream
How to use Streamlabs OBS on Mac?
- Download and install Streamlabs from their official website
- Open the software and follow through with the instructions
- Grant microphone and Webcam permissions
- Connect your account (Twitch, Facebook, etc.)
- Import your settings from another broadcasting software (if you have used one before)
- Add your microphone and webcam
- Optimize your stream and after that, you are all set up
How to capture desktop audio on Streamlabs OBS Mac?
- Download and install Black Hole
- Set up your Multi-Output device:
- Open the “Audio MIDI Setup” utility
- Click the Plus button in the bottom left corner of the screen and then click on Create Multi-Output Device
- Next, you need to check the box next to BlackHole, the Built-in Output, or any other devices you’ll be using for monitoring your stream
- Right-click on the Multi-Output Device and select the option “Use This Device For Sound Output”. It will be set as your default output device
- Open Streamlabs Desktop and make sure that BlackHole is selected as one of your Microphone devices in Settings > Audio

1 thought on “How to Stream on Twitch from Mac: The Ultimate Guide with Top 5 FAQs”
Comments are closed.